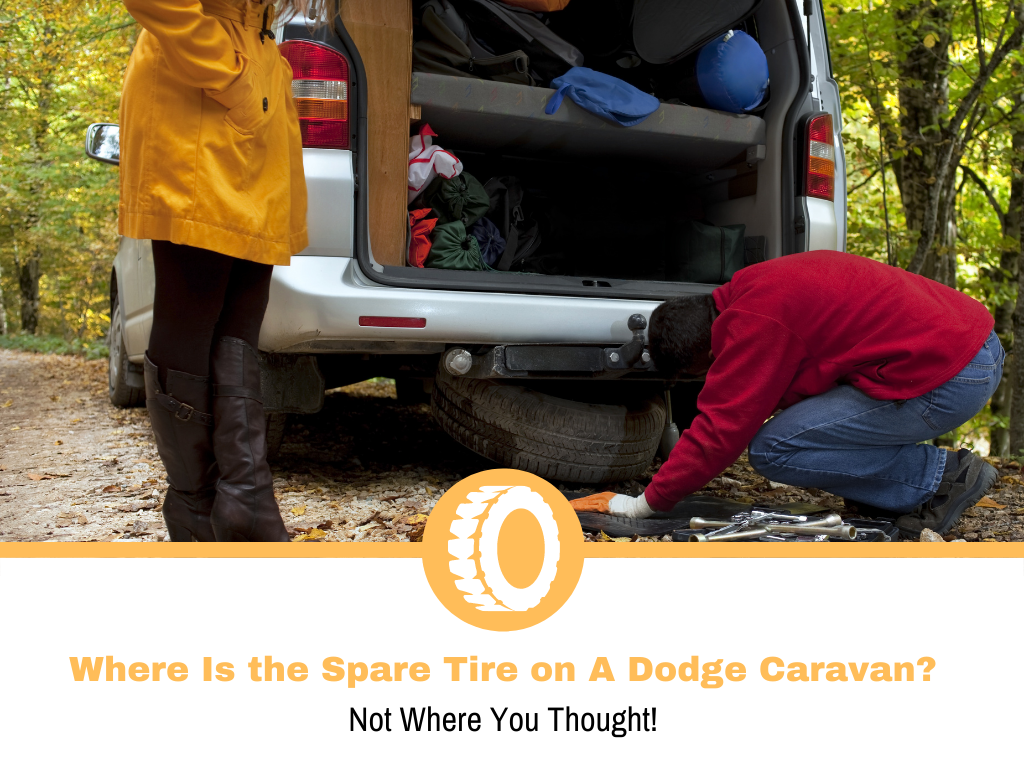
Where Is the Spare Tire on A Dodge Caravan?
So, you are on a family trip in your Dodge Caravan, and you get a flat. Alright its annoying but you have some options. You could use a patch kit but that might be a lot of work and not possible depending on the kind of damage or where it is. Now its time to pop on the spare, but where is it?
There are two configurations when it comes to Dodge Caravans and spare wheels. The “Stow ‘n Go Seating” and the “Non-Stow ‘n Go Seating.” With both configurations, the spare tire is found underneath the vehicle. The placement of the spare, however, is different for each configuration so let’s take a look and find your spare wheel.
The Stow ‘N Go Seating Configuration
The Dodge Caravan Stow ‘n Go is named so because the second and third row of seats can be folded into the floor. Because of the extra floor space needed the spare tire has to be moved forward, closer to the center of the vehicle.
In fact, the tire is underneath the driver and front passenger seats, allowing for an interesting layout. Let’s go through all the steps to changing a tire on the Dodge Caravan Stow ‘n Go:
Step 1 – Find the Tools Kit
First things first, you’ll want to open up the rear liftgate. To the left, you will find a small compartment containing two tool pouches and you might also have an owner’s manual in there. For now, all you’ll need is the tool pouch that doesn’t have a jack.
Step 2 – Assemble the Tool
In the tool pouch, you should find three bars of different designs. One of the bars is more like a rectangular T with a very short vertical stem. Alternatively, the “T” bar may look like an “L” depending on the model. The other two bars should be identical.
There is a square hole in the middle of the rectangular bar with which you can insert one of the other bars. Connect the last bar to the end of its twin to form a large T shape with all three bars.
Step 3 – Finding the Spare tire winch
This is where things are very different compared to most other vehicles. The winch which is used to lower the spare tire is found between the driver’s seat and the front passenger’s seat in the center console.
The access the winch the first thing you’ll need to do is pull the rear center console drawer out. Then open up the forward most storage compartment for the center console. It should be Infront of the cup holders.
The bottom of this compartment can be taken out quite easily and you should now see the winch nut at the bottom. If you have not pulled the rear center console drawer out, then all you will see is the inside of the drawer.
Step 4 – Lowering the Spare Tire
Now that you have access to the winch nut, you’ll want to insert the “T” tool and start turning the nut in the counterclockwise direction. The nut might be tight at first, but it will loosen up as you go. Once the spare wheel touches the ground the winch will become significantly easier to turn.
This does not mean that you are done, however. Keep turning the winch until you cannot turn it anymore. You have to do this because you will need enough slack in the cable to pull the tire out from the underside of the vehicle.
Step 5- Removing the Wheel from the winch system
Now that the tire is on the ground and there is enough slack on the cable, you can proceed to pull the tire out. Remember to do this from the driver’s side of the vehicle though, as the exhaust is in the way on the passenger’s side.
You might be wondering how you are going to reach the tire and if you need to crawl on the ground to get to it. Have no fear, for this is where your tool comes into play again. The rectangular bar has a different insert on the end.
Reinserting the long bar into the end will make your tool into a hook so that you can pull the tire out. Once the tire is out from the underside of the vehicle you can remove the cable. The tire sits in a plastic “bucket” which is attached by a spring-loaded clasp.
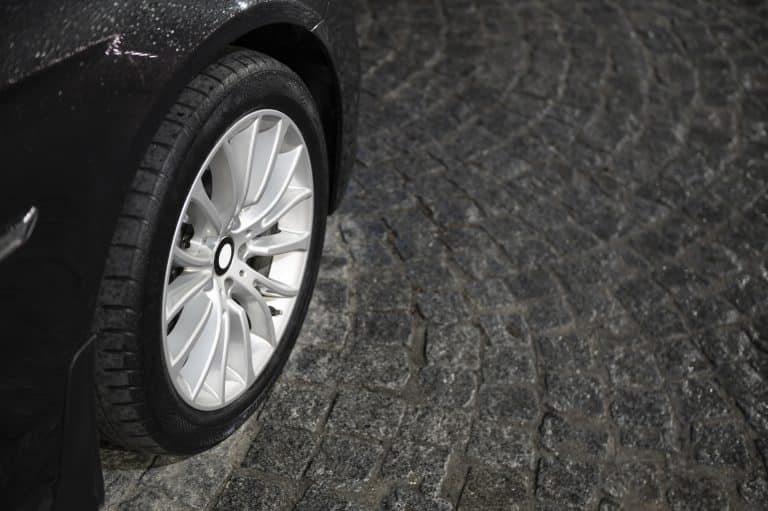
To remove the tire from the bucket, you need to push the edges down on the clasp and slide it through the center of the wheel and bucket. Now your spare wheel is free and ready to use. Just change the tire like any other vehicle.
The Non-Stow ‘N Go Seating Configuration
The Non-Stow ‘N Go seating configuration is a little simpler than the Stow ‘N Go. Because the Non-Stow ‘N Go is less concerned about storage space the spare tire is at the back under the rear storage compartment, removing a lot of the steps.
Step 1 – Find the Tools Kit
Step one is almost the same. Remove the tool kit from the left of the storage compartment. From this tool kit all you will need is the jack’s handle, no special tool is required.
Step 2 – Finding the Spare Tire Winch and Lowering the Tire
This time the winch cover is just inside the cargo area right in the center. No extra steps, just remove the cover and insert the jack handle and start turning in a counterclockwise direction. Expect some resistance at the start and remember to keep turning even after the wheel has touched the ground so that you have ample slack in the cable.
Step 3
This step is the same as step 5 above. With both configurations just reverse the steps to put the spare tire back.
Conclusion
The first real step in finding your spare tire for your Dodge Caravan is to figure out whether you have a “Stow ‘n Go Seating” or the “Non-Stow ‘n Go Seating” configuration. Once you have that information you can follow the steps above and get back on the road!