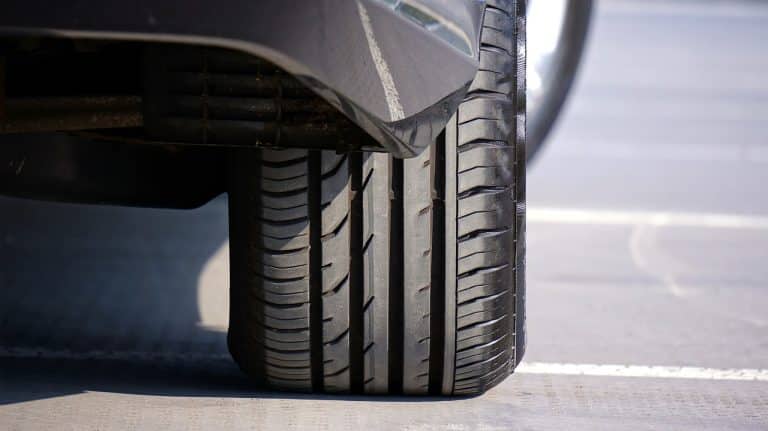
How To Cut Fenders For Bigger Tires
One thing is certain: even when larger tires aren’t the most practical choice, they always look cooler than smaller tires. Sure, your vehicle may be more prone to breaking down, getting stuck, and feeling less torque than it was before, but in the universe of mall-crawlers, appearances always win out over functionality.

We believe that you should trim and add the bare minimum of suspension lift to accommodate the widest tires feasible for your rig, and that you should construct your rig for strength and gearing to match. An aggressive stance, wide, and stable 4×4 with strong axles, robust skid plates, and body protection, adequate bump stops, and large tires instills confidence in drivers on and off the road. Trimming fenders is a critical component of this formula for trail dominance success.
Fenders hold wheels and tires in place by preventing dirt from flying uncontrolled everywhere as the wheels and tires travel over the ground. Really large tires have the disadvantage of being abrasive on your ordinary fenders, resulting in scratches and sometimes dents around the fender region, necessitating the need for fender trimming.
What Do You Need For Cutting The Fenders
Ratchet
To tighten and loosen bolts
Dremel Tool
Carving, engraving, routing, grinding, sharpening, cleaning, polishing, cutting, and sanding are just a handful of good usage.
Angle Grinder
Generally speaking, an angle grinder is a hand-held power tool that may be used for a wide variety of operations such as cutting and grinding as well as deburring and polishing.
Impact Wrench
Used for tightening and removing bolts, screws, and other fasteners. They’re a common tool in the automotive industry. The most typical application that we all encounter regularly is the removal or tightening of lug nuts while we are changing the tires on our automobiles.
Flat and Sand Disc
On an angle grinder, these discs are used.
Other Materials
- Adhesive Tape
- Spray Paint
- Face Shield
- Gloves
Steps To Cut the Fenders
Keep in mind that you must first remove the wheel with a high-lift jack or a floor jack before starting the fender cutting process.
Step 1: Make a trimming template
The fender trimming template will act as a reference for you when it comes to determining how you want to cut your fenders. Creating one will allow you to easily transfer the design to the remaining fenders since you will just need to mark the same lines and cuts over and over again, saving you time.
You may use an old newspaper page (or any other material of your choice) to trace the design onto and then cut out the pattern. If the old newspaper sheet does not adhere effectively to the surface after you tape it down, you have two options: either clean the car surface with a moist cloth and allow it to dry for at least three to five minutes, or use numerous adhesive tapes to secure the sheet to the vehicle surface.
Step 2: Draw a line across the area that has to be trimmed
Wrap the old newspaper sheet around the fender’s part and tape the side of the sheet that will be facing the inside of the fender together using electrical tape. This causes the newspaper sheet to mold into the form of your fender, making cutting the sheet much easier later on. However, since you’ll be utilizing the newspaper sheet on both sides of the door, the center of the newspaper sheet should be aligned with the edge of the door for consistency considerations.
Step 3: Trim the fender trimming template that you have just created
The design on your newspaper page should be cut out so that it may serve as a guide for the cutting procedure. You may leave the pattern exactly as it is on the door’s edge, but be sure to leave a little tolerance on the wheel pattern area so that you can determine whether or not you need to make any more trimming modifications. Inevitably, when you place the fender trimming template over the fender, you’ll discover that it has an extra amount of space, and you’ll have to cut it again until it’s exactly what you want.
Step 4: Remove the fender and trim it to fit
When trimming your 4×4, you cannot, of course, leave the fender linked to the vehicle’s body since doing so not only complicates the operation but also increases the chance of an accident. Make sure you are aware of the location of the bolts so that you can correctly remove your fender. Typically, on the bodies of 4x4s and pickup trucks, two bolts are located below them, a lot perpendicular above them, two in the lower portion of the front and one within the door just beyond the door jamb.
It is necessary to use an impact wrench to remove the bolts, but for those in difficult-to-reach regions, a ratchet or socket wrench might come in useful for the laborious but more controlled removal of the bolts.
After that, lay the fender down on a clean, level surface and begin cutting it with an angle grinder to create a new shape. Never forget to put on the right protective gear while cutting your fenders. When working with rough and sharp edges that aren’t visible to the human eye, use gloves to protect your hands. Protect your eyes with a face cover to ensure that no dirt gets into them. Using it in conjunction with a face mask can help you avoid accidentally breathing dust that may otherwise pass straight through your face shield.
To the greatest extent feasible, avoid using a Sawzall since it has a propensity to deviate from your primary cutting part, where its blade just punches through the whole fender and flaps continually.
A Dremel tool may be used, but its disadvantage is that it is sluggish to cut, thus an angle grinder is your best option for cutting in general.
Step 5: Check the original location of the fender
It’s possible that now that your wheel and fender are out of the way, you’ll want to check more closely at the region where your wheel and fender were previously located. Normally, when your fenders are installed, there are two metal panels that are joined together. These metal sheets absorb the shock of hitting a bump or an obstruction and protrude, creating grooves or humps around the fenders when the vehicle hits them.
It is necessary to hammer each of them in order to flatten their surfaces as a consequence. In the next step, use an angle grinder to cut across the front of the fender approximately half an inch deep. This will allow you to have more room for your springs as well as to smooth off the rough edges of your fender.
Step 6: Attach the trimmed fender
If necessary, use impact wrenches and ratchets to reattach the chopped fender to its original slot; this will ensure that it is properly reinstalled and in its proper position.
Myths about Fender Trimming That You Might Encounter
Just when you think that fender trimming may really do more damage than good to your 4×4, you’ll be shocked to learn that it can actually have the opposite effect, given that you know exactly what you’re doing and that you’re doing it for the proper reasons. As a result, we were able to debunk several common fender trimming fallacies.
Fender Trimming Is Scary
The thought of cutting their 4×4 fenders is frightening to many users, who are concerned that they would inadvertently damage their vehicle. If you’re a newbie, this is something that you should be aware of. However, if you have become accustomed to performing basic fender trimming every now and then, you will be able to correct previous mistakes and create a cleaner, more polished appearance for your fenders, even if you are not a hardcore professional at fender trimming, as explained in the following section.
Trimming the fenders increases the likelihood of rusting
The metal portion of the fenders will be exposed to the elements of grease, dirt, and air, and as a result, many people believe that the chance of rusting is quite significant as opposed to just leaving your factory fenders alone. In spite of the fact that they are not damaged, rust may nevertheless collect within due to the presence of dirt and moisture accumulations.
It is okay to leave a little amount of space between the tires and the lower portions of the fenders
On the contrary, it is preferable to leave plenty of space between the two vehicles since, no matter what you do, the wheels will continue to move, particularly when the vehicle is rounding bends at high speeds. The difficulty with having so little room is that once the tires begin to grind against the fenders, they will ultimately dislodge the latter from their mountings and fall off.
How Far Off Should The Fender And Tire Be?
The top of your tire should be no more than 3 inches over the bottom of your fender when your trailer is loaded to its maximum capacity, according to standard practice. Potholes and bumps should be avoided with this much clearance.
If you want to be accurate, you should measure the distance between the bottom of your frame and the top of your axle if you have an underslung trailer (in which the springs are located under the axle). In order to provide proper clearance when your trailer is completely loaded, you need to add two inches to that dimension.
Conclusion
If you look at it from the outside, trimming your fenders is a small detail. Although it is more difficult to prevent, doing it correctly helps you avoid the issue of your fenders aggressively rubbing against your really big tires, which may cause damage to them. It will also improve the overall performance of your 4×4.


