How to Paint Your Wheels at Home
Whenever I think of wheels, I look at them from two perspectives. One is the obvious– the part of the car where we mount the tires and their involvement in the car’s performance. The second aspect is the looks. A good set of wheels can change a car’s appearance.
I won’t go into the design of the wheels, as that’s a personal preference. The wheels that I like may be hideous for others, so that’s not the important aspect of this. When I talk about looks, I mean about the state of the wheels. The color and the state can make or break how the overall look of your car is.
Taking your wheels to a professional is the best way to change their appearance. They’ll be painted and fixed, but it can be costly. With that in mind, what if you want to repaint them yourself at home?
Good news for you is that today I’ll teach you how to do it. Even though steel wheels are becoming obsolete, if you’re not a fan of hubcaps, these steps will cover them as well.
Painting your wheels at home
The process is straightforward, but to give a better explanation, I’ll divide it into several sections. As long as you follow them, you shouldn’t have any issues. Before I dive into the steps, let’s look at who can do this.
This is a process for people with a garage or yard. The main reason for this is that there are some things you’ll need to do that aren’t doable in front of your building. It’s not a 15 minute job, so even if you live in a building, try to find a closed area where you can do this.
Requirements
Before you even look at your car, there are a few things you’ll need. I’m going to assume that you already have a jack and jack stands, so I won’t be talking about this. Some people also have two sets of wheels, meaning that if you’re planning on painting the second set, there’s less work involved.
With that aside, let’s talk about cleaning. Regardless if you paint wheels, walls or your laptop, the most important thing is to clean the surface before you do anything. Contaminated surface can be a headache, especially if you need to start the process from scratch. Degreaser, paint thinner or even alcohol can get the job done, or you can go with some off-the-shelf products. It shouldn’t be an issue because there are lots of options.
As far as the tools for the job, it will depend on multiple factors. Let’s look at the wheels on my IS250. They have plenty of scuffs and curb rash, so they’re not in the best shape possible. I can go with just covering them up, but it won’t be a smooth surface. Therefore, I’d need something for smoothing the surface and considering that there are some deeper scratches, I’ll need something to fill them up.
Choosing the paint is the most important part of the process. You may think that any rattle can you have lying around at home will get the job done, but that’s not the case. There are different types of paint for different wheel materials, so choose that accordingly. For the best job possible, you should also get a primer and a clear coat. The primer will act as a base, while the clear coat will add the finishing touches and add some shine.
In terms of the rest of the tools, if you’ve ever painted, you’ll know that you need masking tape, and plenty of paper or plastic bags to avoid making the wall look like cheap graffiti. Gloves and a mask are also a must. As fun as it may seem to sniff the paint, I wouldn’t recommend it.
Preparing the wheels for paint
The entire process starts with the preparation and it’s the most complicated part. If your wheels are on the car, you’ll need to remove them. I’ve seen some people do this with them attached, but I wouldn’t recommend it. Not only will you need to mask off the tire, you’ll need to worry about the braking components behind. Take them off, as it will be much easier to work with them.
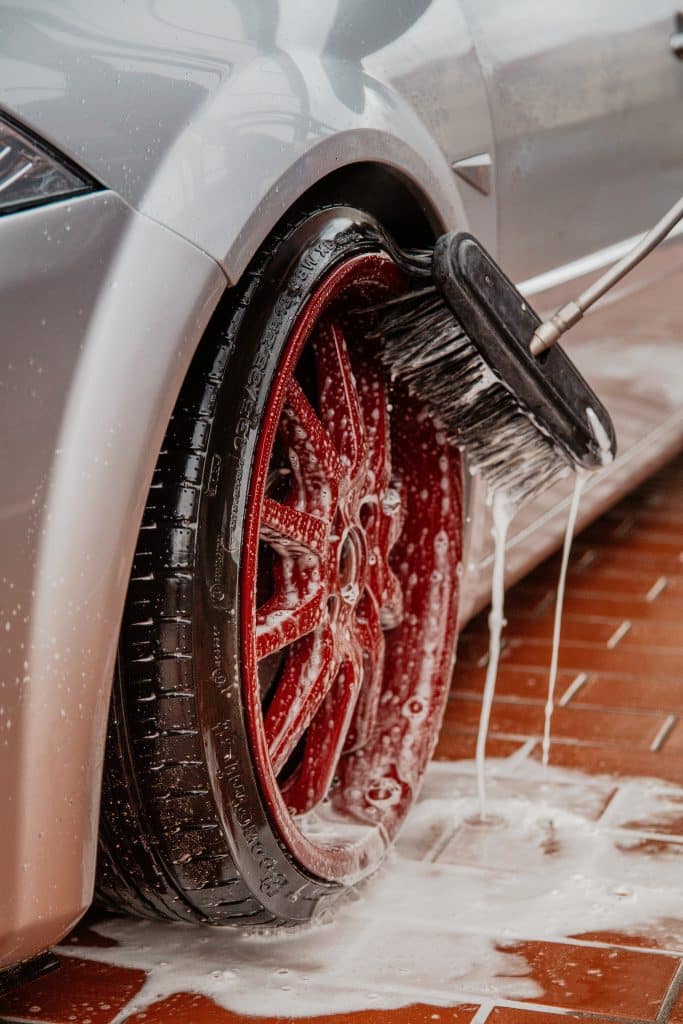
To get a good idea of the damage you have, wash them first. Soap, water and a wheel brush do wonders of removing the dirt to inspect the wheels. Once you have them clean, you can inspect the damage, which is where things will differ.
If you have newish wheels or they don’t have tons of deep scratches, you’re in luck. You can use sanding paper to smooth out the surface and you’ll be ready. On the other hand, in my situation, I’ll need a lot more work, considering how much curb rash there is. I would need to file the beads a bit and then proceed with 200-grit paper and finish it with something like 500. There are millions of factors that can affect this, so either get multiple grit ratings or be prepared for a trip to the hardware store.
The goal is to get the surface as smooth as possible. You can start with the rougher paper and smooth it out with the finer one. There isn’t a specific rule about this, so you’ll have to rely on your instincts. You should get a smooth surface without massive lumps or grooves on the wheel. You can also revert to some wheel scratch repair products. I haven’t tested any of them so far, but I’ve seen people around the internet claiming that they do a decent job.
Next up is another set of washing. You already washed the wheels, but this time you’re washing away the dust from the sanding. You can go through them with another round of degreaser or a special product to eliminate as many contaminations as possible. From this point on, I’d recommend using gloves to avoid additional contamination on the surface of your fingers. Also, before you proceed with the next step, make sure that the wheels are bone dry. Leave them overnight if you want to, but make sure they’re covered to prevent them from getting another round of dust or dirt.
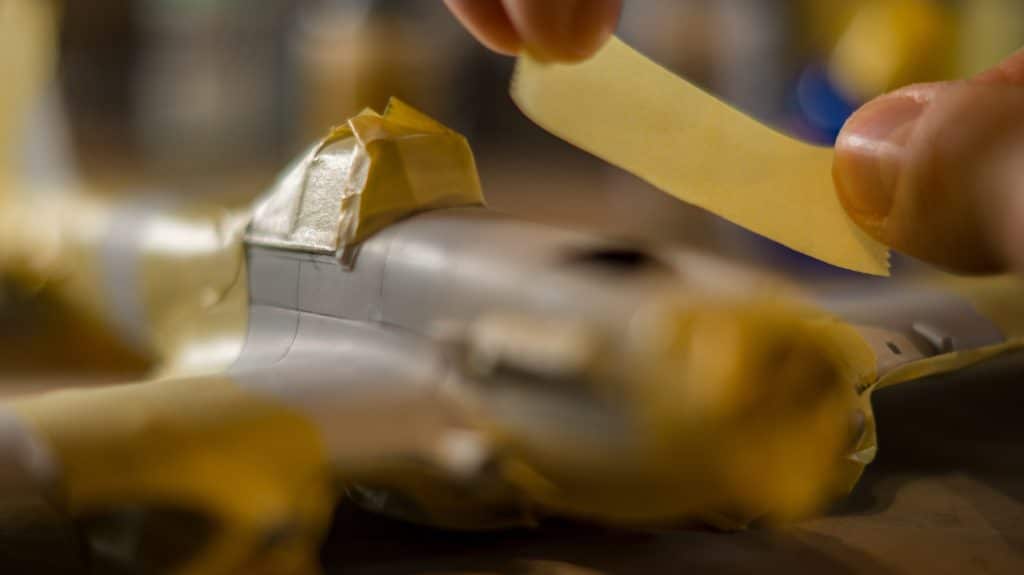
Once you’re done with smoothing out the surface and washing, it’s time to mask, which is another area where things differ. If the tires are attached to the wheels, you’ll need to mask off the tire and the valve. Start with the masking tape and use a plastic tool to tuck it below the bead. This way, you’ll ensure that no paint gets on the tire. The same goes for the valve, but you’ll need to be careful how you cur the tape to avoid damaging it. For the larger potions around the tire, you can use papers or plastic bags and as long as everything is covered, you shouldn’t have an issue.
On the other hand, if the tires aren’t fitted to the wheels, then you have nothing to worry about. The only thing you should consider are the holes for the bolts and the valve. Paint isn’t thick, but the tolerances for those parts aren’t massive, so a few coats of paint may cause an issue, especially with the valve. Plug the holes with whatever fits in there and you’re good to go.
Painting the wheels
With the hard work out of the way, not it’s time to give the wheels a new look. This is a simpler process because most of the time spent on it is waiting for something to dry. Before you start shaking the cans, consider where you’ll put the wheels.
If the tires aren’t mounted, I’d recommend hanging them on a wire wrapped around the barrel. This is the best way to avoid any unpainted spots and you won’t have to touch the wheel at any point. For wheels with the tires attached, you’ll have to get creative, but you need to make sure that no part of the wheel touches anything, as that can damage the paint.
You start off with the primer. Some people may say that it isn’t necessary, but it’s a nice base to set for the paint. There are some primers that work with shiny surfaces and I believe they are a better option. As good as you think you are with sanding, there will be a spot that you may have missed. That will be a weak point and if the primer doesn’t “stick”, then it will peal off. Don’t ask me how I know this, please.

Depending on the type of primer, you’ll need to apply several layers. The manufacturer will usually recommend 2 or 3 layers with a certain amount of time between the applications. It’s crucial for the previous layer to dry before applying the next one. Again, don’t ask me how I know this.
One of the many things I’ve learned the hard way is to wait for the layer to dry. Sure, it may say to wait for 10-15 minutes, but I’d recommend waiting for longer. Better be safe than sorry.
Once the primer is applied, the procedure for the paint and clear coat is the same. A few layers of each, with a bit of waiting in between. If you ask me, I’d go with 3 layers, one in the morning, noon and evening, and leave it overnight to dry. If the weather is cold, consider waiting more for the previous coat to dry.
When the entire procedure is done, leave the tires to dry a bit longer, to ensure that everything is set. The final step would be to remove the making and admire your work.
What should you consider when painting your wheels?
It may take you a few minutes to read through the article, the actual process takes a lot longer. This is the main reason you should do this at a garage. You can work in peace and don’t worry about leaving the car on jack stands if you need to remove the wheels. In a best-case scenario on a hot summer’s day, you’re still looking at 2 or 3 days of work from start to finish.
During the entire process, I’d recommend using protective gear – gloves and a mask. You won’t inhale any of the paint or the dust from sanding the wheels. As for the gloves, it’s easier to throw away the gloves than to scrub the paint from your hands.
I mentioned about protecting the surrounding area and this is important. Most people won’t be too happy to find that they painted their wall or floor tiles with paint.
The most important thing to consider is the quality of the work. You can do everything perfectly, but at the end of the day, it won’t be the same as powder coating. This is something you should keep in mind when admiring your work. You can do a pretty good job and for most people, it will seem done professionally, but don’t expect miracles.
Conclusion
Making modifications to our cars is a way to give them a unique look to stand out from the crowd. You can drive even the most boring car on the planet, but once you modify it, you make it your own unique pride and joy.
Modifications range from minor to larger ones, and in today’s guide, I spoke about painting wheels. Many people would take them to a professional, which is the right thing to do. It’s expensive, but you’ll be 100% sure that it will be done properly.
On the other hand, if you’re a person who wants to do something for yourself, you have the options to paint the wheels at home. It’s not the simplest project in the world, but if done properly, can reward you with a huge smile and plenty of compliments.